A bubble skirt (or a balloon skirt) is a layered skirt. It gets its puffed shape by sewing two skirts together – one that’s less flared and shorter (the inner layer), and another that’s more flared and longer (the outer layer). The outer layer’s hem is gathered or pleated to attach to the inner layer’s hem, creating the “bubble” effect as the excess fabric puffs out. I find the design very feminine and romantic; perfect for a suumer wear))
Depending on the shape of the two skirts (i.e. inner and outer layer), you can achieve different effects and use varying amounts of material. For instance, using circle skirts will give a more even, flowing puff with natural drape, but they require more fabric due to the curved cuts. Simpler straight or rectangular skirts (like gathered panels) result in a more structured or ruffled bubble, often using less material since they involve straight cuts and gathering.
In my case, I used two circle skirts: one with a 1/3 flare level for the inner layer and another with a 3/4 flare level for the outer layer.
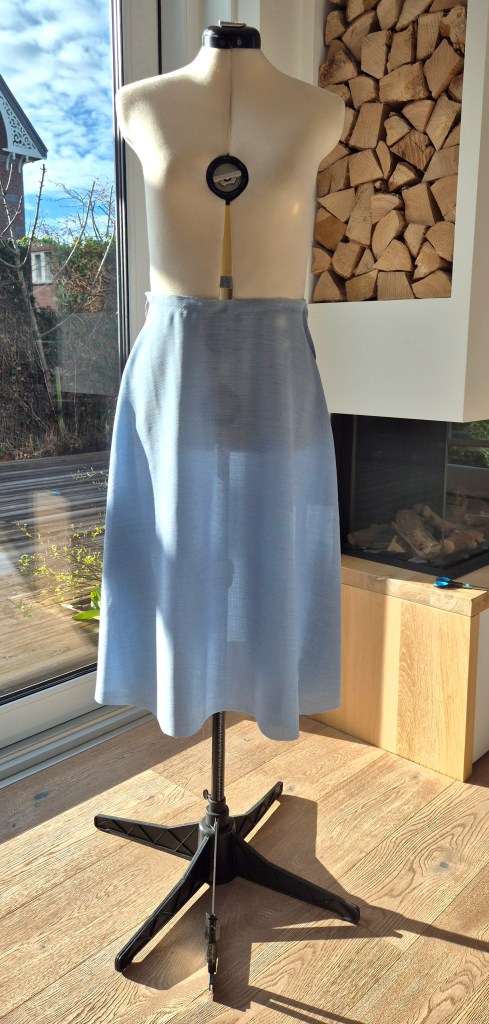
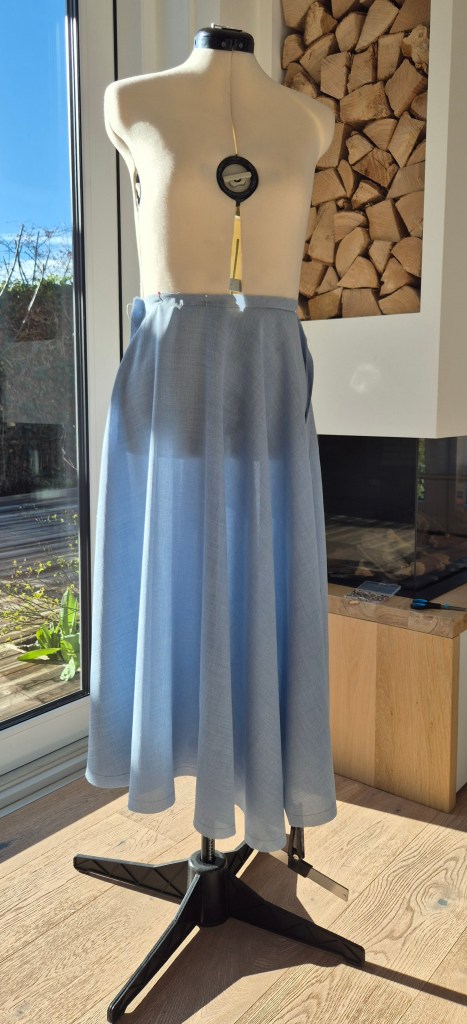
To generate your own custom sewing patterns for both skirts, you can use:
Sewing Pattern Generator for a Circle Skirt
Option 1: Fitted waist band (with a zipper)
For the inner skirt, use the following values:
- Waist Measurement -> your waist measurement;
- Desired Skirt Length -> your desired skirt length minus 7-10 cm;
- Flare Level -> 1/3.
For the outer skirt, use the following values:
- Waist Measurement -> your waist measurement;
- Desired Skirt Length -> your desired skirt length plus 7-10 cm;
- Flare Level -> 3/4.
Option 2: Elastic waist band
If you prefer an elastic waistband, be sure to enter your hip measurement into the pattern generator instead of your waist measurement, since the skirt will need to stretch over your hips when you put it on.
For instructions of how to print and assemble your sewing patterns click here.
Which fabric to choose?
The choice of the fabric can be a bit tricky – to achieve that perfect poof without it falling flat, you need a material with some structure and body.
Top picks for balloon skirts:
- Taffeta: This crisp, shiny fabric is a classic for balloon skirts because it provides natural poof and holds the shape beautifully. It’s perfect for evening wear or parties, but it can be noisy and prone to wrinkles.
- Silk or Satin: For a luxurious, flowing yet structured feel, silk (or satin variants like duchess) adds elegance and a subtle sheen. It’s great for upscale occasions, drapes softly for a romantic puff, but might require dry cleaning and can snag easily.
- Organza: Lightweight and sheer with stiffness, organza creates an ethereal balloon effect, especially in overlays. Ideal for summer or bridal looks, it holds volume well but can be delicate and see-through, so pair with a lining.
- Cotton or Poplin: For a casual, everyday balloon skirt, go with cotton – it’s breathable, affordable, and easy to care for. Organic cotton jersey or poplin gives a softer puff, perfect for daytime outfits, though it might wrinkle more and need ironing. Avoid heavy cottons to prevent bulk.
How to sew the design?
1. Sewing the two layers: use your sewing patterns (note: the patterns do not have a seam allowance) for the two skirt layers to cut the fabrics and sew the side seams of the two “skirts” to get the two separate layers (depending on how you have cut your fabrics, you might need to adjust the hem, see the post on how to sew a circle skirt).
2. Gathering the hem of the outer skirt layer: sew two rows of basting stitches (longest stitch length) along the outer skirt’s hem, about 0.25 and 0.5 inches from the edge and pull the threads to gather the hem until it matches the circumference (i.e. length) of the inner skirt’s hem. Distribute gathers evenly along the hem.
3. Attaching the Layers: place the inner skirt layer on top of the outter skirt layer such that “right sides” of both layers face each other and aling and sew both hems together, as shown in the picture. Then turn the skirt inside out and sew the waist edges of both layers together.

4. Adding the Waistband: Cut a waistband rectangle from the fabric and attach it to the skirt´s waist. For a zipper version: Install an invisible zipper on the outer skirt layer only.
Final Notes
If you enjoyed this guide and don’t want to miss new patterns, follow us on social media (i.e. instagram) to stay in the loop for new releases!))